Why Images Get Blurry After Compression (And How to Fix It)
Understanding JPEG compression, compression artifacts, and the right tools to restore your images with AI.
Before/After Comparison
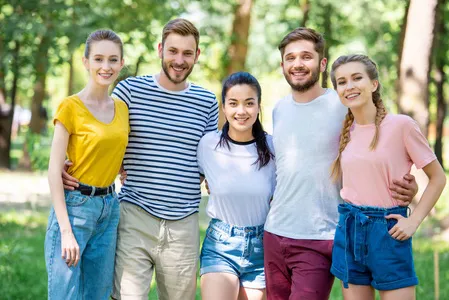
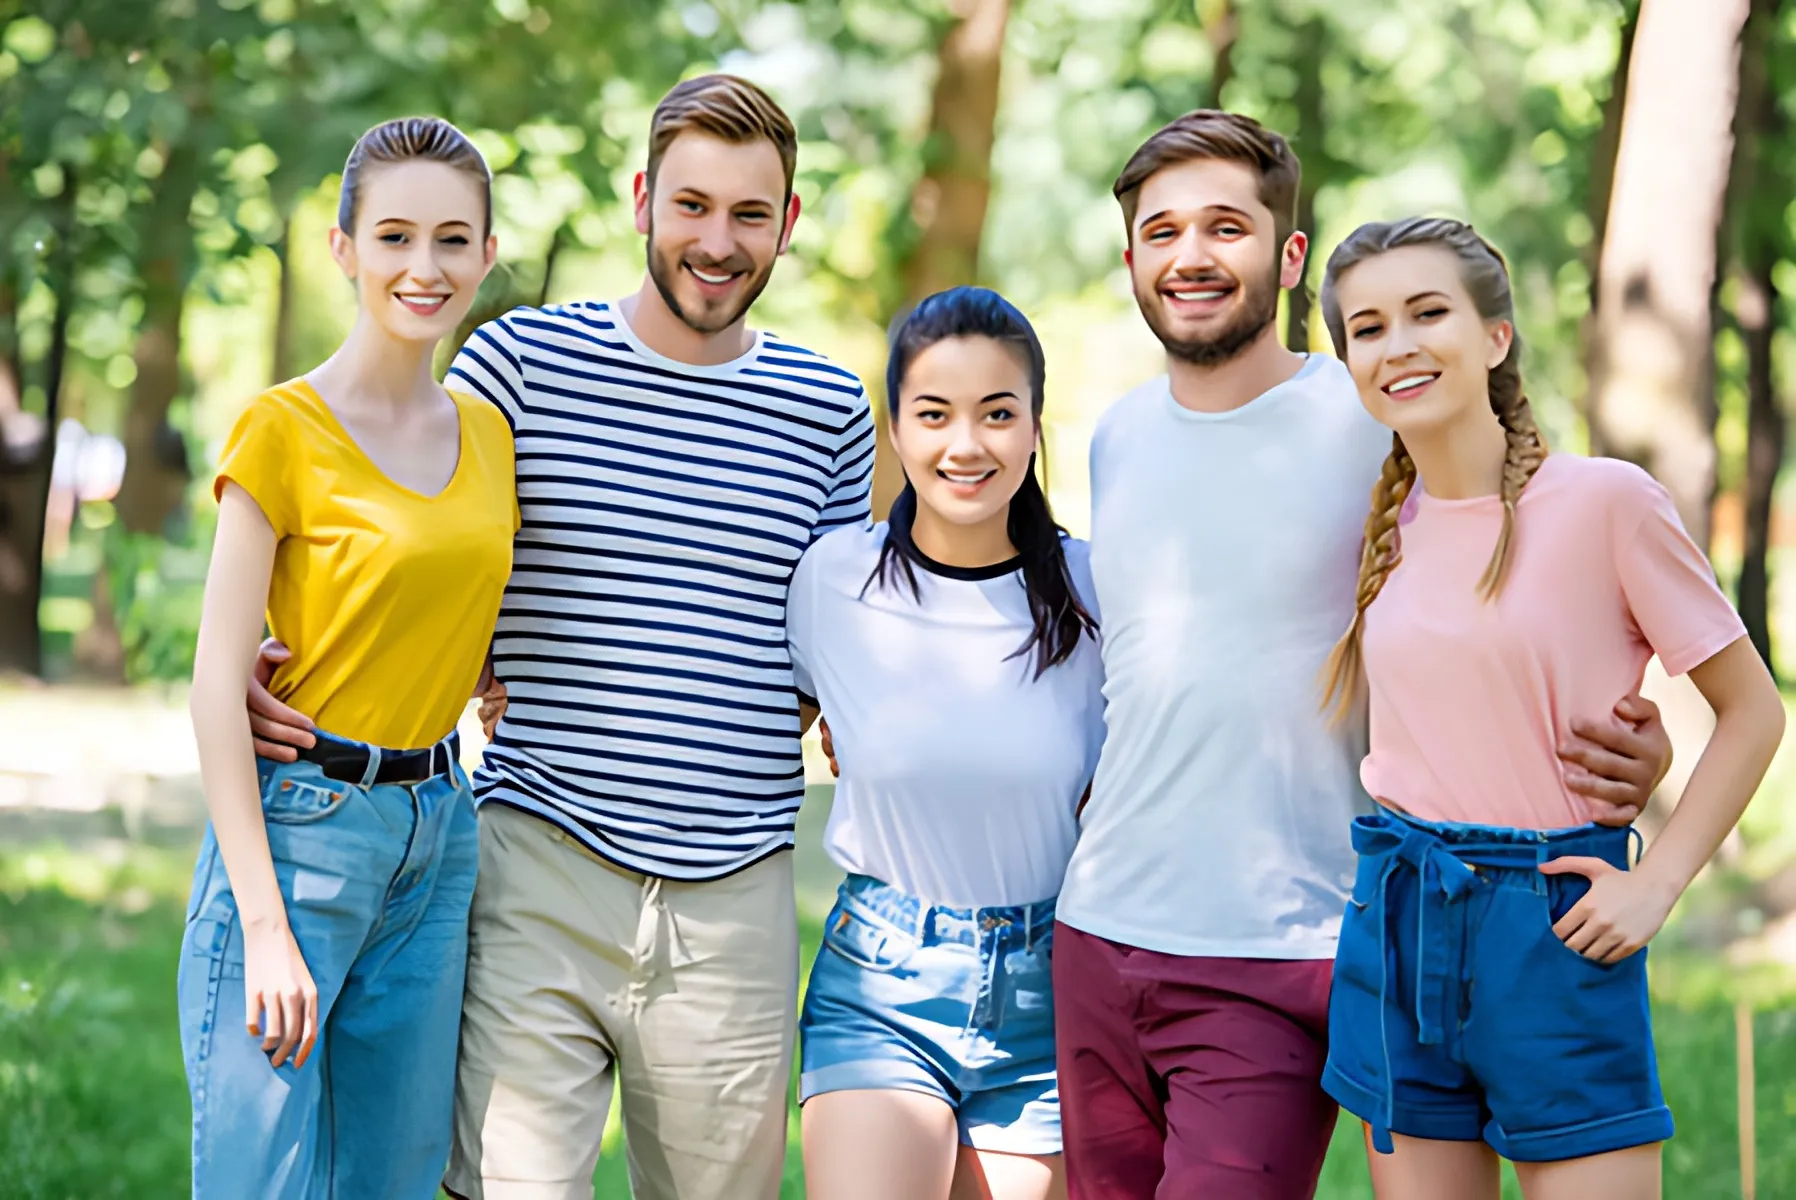
Left: Original photo showing visible compression artifacts and blur. Right: Same image after AI restoration using Real-ESRGAN, with recovered details and reduced compression artifacts.
Every photographer, designer, and content creator has hit this wall: you upload an image to a website, send it through a messaging app, or save it for web — and suddenly it looks like garbage. Edges get fuzzy. Fine details disappear. The whole image has that slightly "muddy" look.
You didn't change the resolution. You didn't crop it. You just... compressed it.
So what actually happened? And more importantly — how do you fix it?
How Lossy Compression Actually Works
To understand why compression makes images blurry, you need to understand what JPEG compression does under the hood.
The 8×8 Block Problem
JPEG — the most common image format on the web — uses a compression technique called DCT (Discrete Cosine Transform). Without getting too deep into the math, here's what it does:
The image is split into 8×8 pixel blocks. Each block is analyzed and simplified. High-frequency details (fine textures, sharp edges, subtle gradients) are discarded first, because human eyes are less sensitive to them.
This is the core trade-off:
smaller file size in exchange for lost detail.
The problem gets worse as you lower the quality setting:
- 90-100%: Minimal visible loss. Fine for archiving.
- 70-85%: Noticeable at close inspection. Block edges start to appear.
- Below 70%: Obvious artifacts — blockiness, "ringing" around edges, and the blurry, smeared look.
Lossy vs. Lossless — It's Not Just About File Size
People often think "lossless" just means "higher quality." But the distinction matters for how you handle images:
Lossless compression (PNG, WebP lossless mode) reduces file size without removing any visual data. You can re-save a PNG 100 times and it stays identical.
Lossy compression (JPEG, WebP lossy mode) permanently removes data each time you save. This is called generation loss — every save cycle compounds the damage. If you open a JPEG, make edits, and save it again, you lose even more detail.
Rule of thumb:
Always keep your original, uncompressed file. Only compress when you're done editing.
Not All Blur Is the Same
Before trying to fix a blurry image, you need to identify what kind of blur you're dealing with. Different problems require different solutions.
Type 1: Compression Artifacts
This is the most common culprit. Symptoms include:
- Blocky, mosaic-like patches
- "Ringing" — faint ghost outlines around sharp edges
- Smearing of fine textures (grass, hair, fabric patterns)
- Color bleeding between areas that should be distinct
This is not true blur — it's damage to the image data caused by compression. The details are still somewhere in the structure of the image; they've just been simplified.
This type can often be partially or fully reversed.
Type 2: Actual Blur (Out-of-Focus, Motion, or Low Resolution)
This is different. The image is genuinely out of focus, or the camera sensor simply didn't capture enough pixels.
- • Out-of-focus: light areas merge together, no edge definition
- • Motion blur: trailing/ghosting in the direction of movement
- • Low resolution: everything looks pixelated when enlarged
This type is harder to fix
because the detail genuinely isn't there — the camera never captured it.
Type 3: A Combination of Both
This is the trickiest case. A photo might have slight motion blur and heavy JPEG compression from being shared multiple times. Each problem compounds the other.
Why Traditional Fixes Don't Really Work
If you've ever tried to "fix" a blurry image in Photoshop, you probably noticed it didn't get much better. Here's why:
Sharpening Filters Make It Worse
Photoshop's Unsharp Mask and Smart Sharpen work by increasing contrast along edges. They look at the image and say "this edge should be sharper, let me push it."
The problem: compression artifacts already create false edges. Sharpening those artifacts just makes them more visible. You'll end up with a noisy, harsh-looking image with no real additional detail.
Re-Saving at Higher Quality Doesn't Help
You might think: "I saved this as JPEG quality 60, let me re-save it as quality 90." Unfortunately, that doesn't restore the lost data. The damage is already baked in. You're just applying a new layer of compression on top of already-damaged data.
Upscaling in Photoshop Is Just Interpolating
When you enlarge an image in Photoshop (Image → Image Size → resample), it uses mathematical interpolation — essentially guessing what pixels should exist between the ones it has. Bicubic, Lanczos, it doesn't matter: you're not adding real detail, you're estimating it.
The image gets bigger. It doesn't get sharper.
How AI Restoration Actually Works
This is where things get interesting.
The Pattern Recognition Approach
Modern AI upscaling models like Real-ESRGAN and Real-CUGAN don't just estimate pixels. They work by learning what natural images look like across millions of examples.
When you upscale an image with Real-ESRGAN, the model:
- 1Analyzes the low-resolution input and identifies patterns (textures, edges, structures)
- 2Cross-references those patterns against what it has learned about natural images
- 3Reconstructs high-frequency details that should be there based on context
This is fundamentally different from Photoshop's interpolation. The AI isn't guessing — it's hallucinating plausible detail based on learned patterns.
Why Separate Models for Photos and Anime/Illustrations?
This is important and often overlooked.
Photos and illustrations have completely different visual structures:
- • Photos have complex, irregular textures — skin pores, fabric weaves, natural light gradients
- • Illustrations and anime have clean lines, flat color areas, and stylized details
A model trained on photos will produce artifacts on anime-style images, and vice versa. This is why ImgUpscaleAI maintains separate models — a photo model and an anime/illustration model — so each type of image gets the appropriate processing.
If you're trying to restore a compressed screenshot of an anime character, using a photo-focused model will likely make it look worse, not better.
Related: For a deeper dive into AI upscaling tools and how they compare, check out our AI Upscaler Comparison Guide.
What Real-ESRGAN Actually Does Well
- Upscaling low-resolution images (e.g., 720p → 4K)
- Reducing JPEG compression artifacts at moderate levels
- Recovering mild texture loss from repeated saving
- Handling both photos and anime with appropriate models
Where It Has Limits
Being honest: Real-ESRGAN-based tools like ImgUpscaleAI have their limits.
- • Severe compression damage (JPEG quality below 50%, heavily pixelated images): the model can only do so much — if the detail isn't there at all, it can't be fully reconstructed
- • Severe out-of-focus blur: similar limitation — the information wasn't captured
- • Extreme cases where the image is mostly noise: AI models can amplify noise along with detail
For those extreme cases, desktop tools like Topaz Gigapixel AI have more sophisticated models (including face recovery) and more control over parameters — but they cost $99+ and require a decent GPU. For moderate cases, a free web-based tool is often sufficient.
What to Use, and When
Here's a practical decision framework:
| Situation | Recommended Approach |
|---|---|
| Image is large but compressed (quality 70+) | Re-export in WebP or PNG. Use Image Converter to change format without quality loss |
| Need to reduce file size significantly | Use controlled lossy compression (quality 80-85% in WebP). Try Image Compressor to dial in the right level |
| Image is moderately compressed and slightly blurry | AI Photo Restore — web-based, handles photos and anime separately, no installation needed |
| Image is severely damaged or you need facial restoration | Consider Topaz Gigapixel AI (desktop, paid) |
| Image is an illustration or anime-style | Make sure you're using an illustration/anime model — ImgUpscaleAI's anime model is built for this |
The Step-by-Step Process
If you have a blurry compressed image right now, here's what I'd do:
Identify the problem
Is it compression artifacts (blocky, ringing) or actual blur/low resolution?
Try the lightest fix first
If it's a format/size issue, converting to WebP or lightly recompressing at quality 85% might solve it without needing AI at all.
Use AI if needed
If the blur is from real detail loss, feed it to an AI restorer. Start with a free web tool — most of the time that's enough.
Compare results
Don't assume AI always makes it better. Check the result at 100% zoom. If the AI is adding noise or creating artifacts, you may want to use a lower upscaling level.
Related: For a complete guide on upscaling low-resolution images for free, see our Free AI Upscaling Guide.
The Complete Workflow
Here's the full workflow I use when handling compressed images:
- 1
Keep originals
Always store the uncompressed master file somewhere safe.
- 2
Export for use, not for archiving
When you need a smaller file, export at the appropriate quality level once. Don't re-save and re-save.
- 3
Prefer WebP over JPEG for web use
Better quality at the same file size, or smaller file size at the same quality.
- 4
If the image is already damaged
Try AI restoration before giving up on it.
- 5
Don't over-upscale
Upscaling a 2x image to 8x doesn't add 4x more detail — it adds reconstructed detail, which has limits. Start with the highest resolution source you have.
Quick FAQ
Will AI completely fix my blurry photo?
For mild-to-moderate compression blur, yes — often remarkably well. For severe damage, AI can significantly improve it, but you may not get a perfect result. The key is starting with the highest-quality source image you can find.
Does Real-ESRGAN work on all image types?
Real-ESRGAN is primarily designed for photos and general illustrations. For anime and manga-style images specifically, Real-CUGAN models are often better. ImgUpscaleAI includes both model types so you can pick the right one for your image.
Should I use Topaz or ImgUpscaleAI?
If you need maximum control, face recovery, or you're working with severely damaged images, Topaz Gigapixel AI is worth the investment. For everything else — quick fixes, mild artifacts, web-based convenience — ImgUpscaleAI handles it well and is free.
Why does my image look worse after re-saving it?
This is generation loss. Each time you re-save a JPEG, it loses more detail. The fix is to always work from your original uncompressed file.
Try It Yourself
If you have a compressed or blurry image sitting around, you can test how well AI restoration works for your specific case:
Related Articles
Want to learn more about AI image processing? Check out these guides:
AI Upscaler Comparison
How ImgUpscaleAI stacks up against other online upscaling tools
How to Upscale Low-Res Images for Free
Step-by-step guide to 2x and 4x AI upscaling
AI Image Tools Guide
Complete guide to our AI Image Upscaler, 2K/4K Upscaler, and Photo Enhancement tools
Upscaling Low-Quality Illustrations
How to upscale illustrations while preserving detail
How to Fix Blurry Pictures for Free
Step-by-step tutorial — fix blurry photos with AI, no sign-up required
Understanding why your images lose quality is the first step to preventing it. The second step is knowing which tool to reach for when prevention isn't an option.